Vegetables & Fruits


CBD Isolate
$25.00 – $425.00
Select options
This product has multiple variants. The options may be chosen on the product page
Unveil the all-natural CBD Isolate. Considered the purest and most wholesome form of cannabidiol reaching 99% purity, ground up into a fine white powder for convenient usage. It’s the perfect way to dose CBD without getting high. Also known as Vitamin CBD for its potential health benefits and zero side effects.
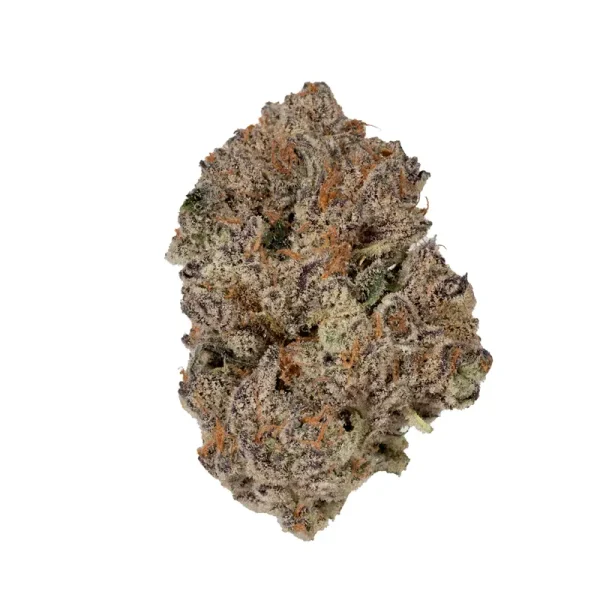
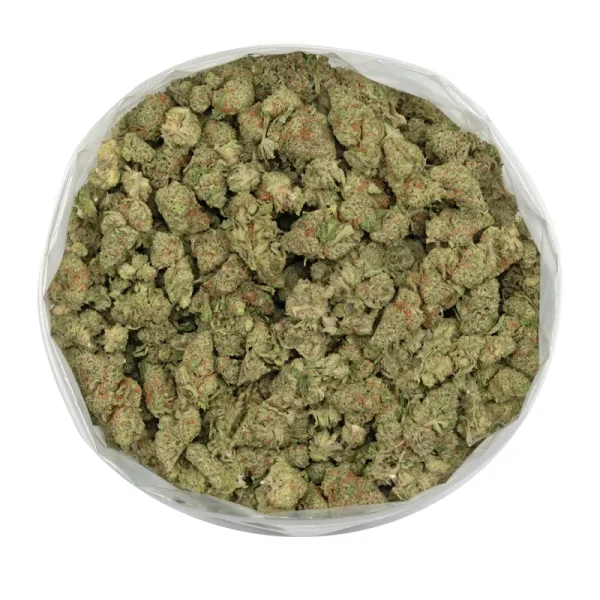
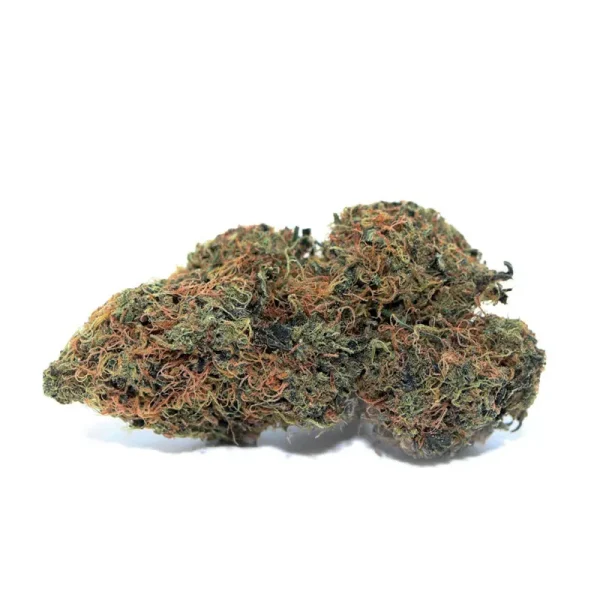
Dr. Rosin – Supreme Pink 99
$100.00 – $250.00
Select options
This product has multiple variants. The options may be chosen on the product page
Supreme Pink 99 rosin was born by pressing only the finest pink profiled strains that could be discovered in the cannabis garden. The scent is to be described as obnoxious skunk mixed with a light scent of sweet pink lemonade. Upon consumption, the tantalizing terpene levels of this product will whisk you off to flavour town.

400mg THC Mystery Edibles
Original price was: $24.00.$12.00Current price is: $12.00.
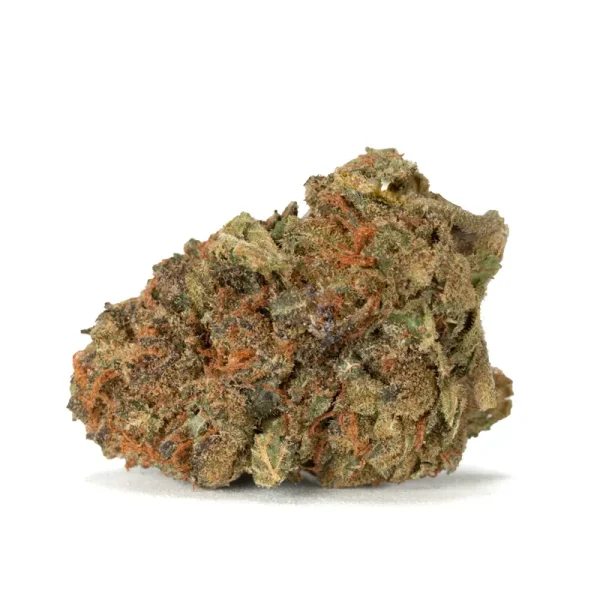
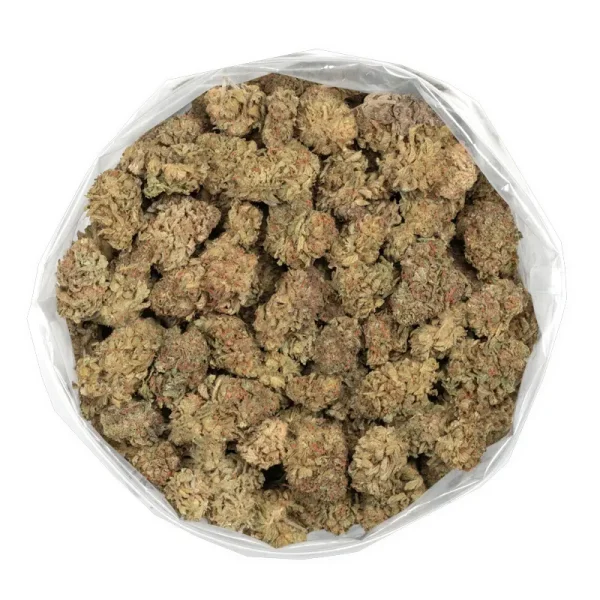
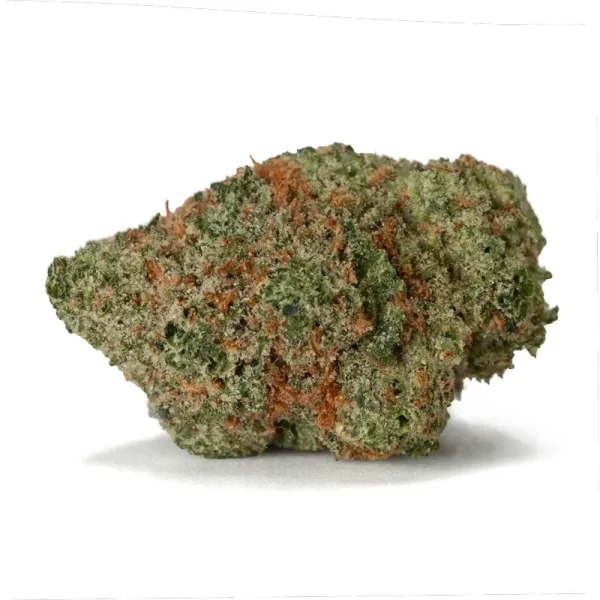
Zed
Original price was: $200.00.$160.00Current price is: $160.00.
Select options
This product has multiple variants. The options may be chosen on the product page
The Indica strain Zed is renowned for its potent effects and great amounts of THC. Created by cross-breeding Hash Plant and the famous Northern Lights giving it chunky fresh green buds that have thick, long, vivid orange hairs and tiny white crystals. Its flavour is sophisticated and refined with sweet pungent earth and hints of pine. Zed strain is an excellent choice of cannabis for a relaxing night in due to its sedating effects.


I’ve been rolling joints for 20 years and still as truffle sometimes with the filter. Never ever thought to read an article like this as I thought I already know but reading this was informative. I’m happy I did so I can try some tips when rolling another. These blog posts always so informative love them!
That’s so awesome to hear that even after 20 years of rolling joints, you learned something new from our blog!! We do our best with providing helpful/unique content to our readers.
Very informative post. We’re new to blogging as our primary source of income has always been freelance software engineering. topanga og strain
Thanks for sharing with us. Also great with valuable information posts.